


Extended Sizing: How to Make Your Apparel Brand Inclusive
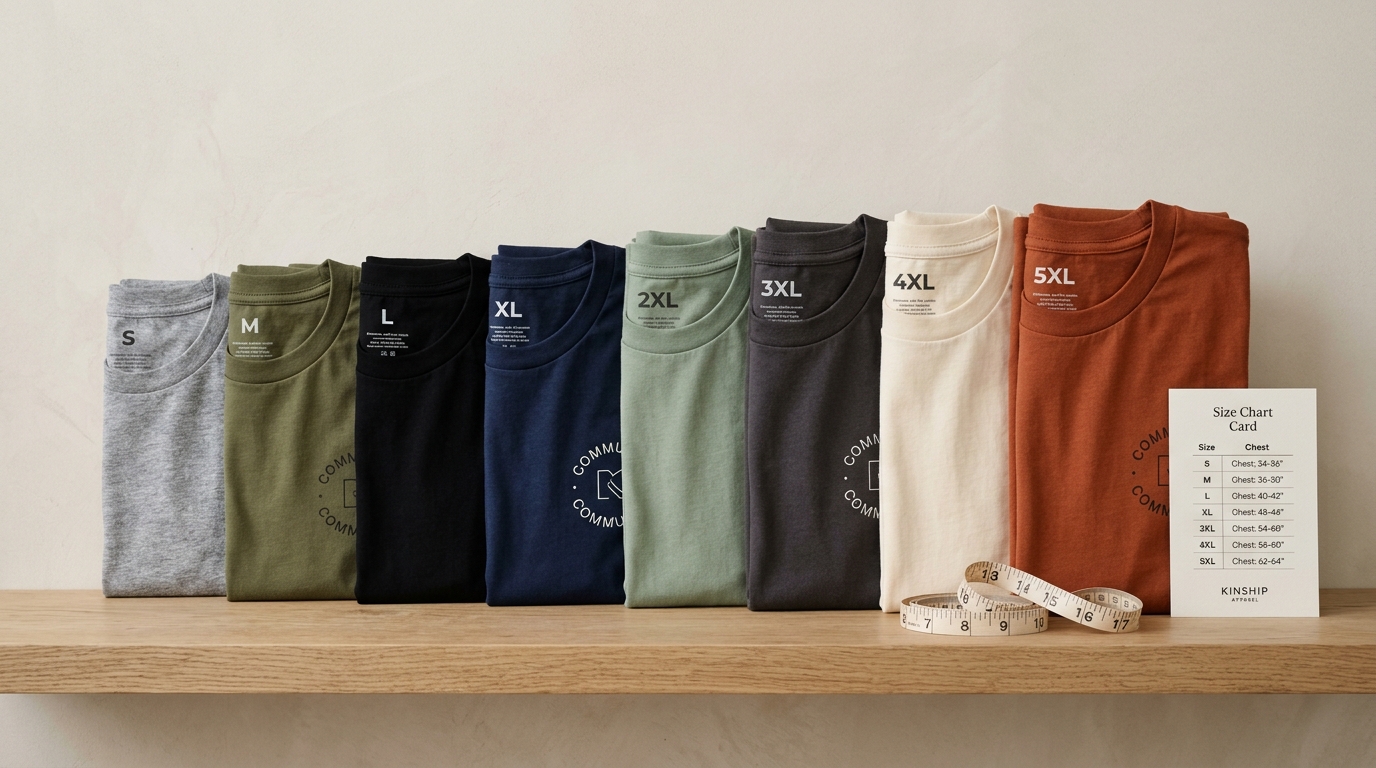
Extended sizing is usually discussed as a values question. It is more usefully treated as a production question, because that is where most brands fail.
Adding three sizes to a size chart takes ten minutes. Making those sizes actually fit takes re-drafting, re-sampling, and new photography. This guide covers what changes, what it costs, and how to launch without carrying dead stock.
The Business Case, Briefly
The commercial argument is stronger than most small brands assume.
A meaningful share of adult shoppers fall outside the conventional range, and they are underserved by independent labels. Those customers also tend to be loyal, because finding a brand that fits is difficult. Returns fall when fit improves, and average order value rises when a customer can buy for more than one body in the household.
The catch is that extended sizing only pays if the fit is genuinely good. A size 3XL that is simply a scaled-up medium generates returns and reviews that damage the whole catalogue.
Why Grading Up Breaks Fit
Standard grading applies a fixed increment to each measurement. That works within a narrow band and fails outside it.
Bodies do not scale uniformly. A larger chest usually comes with a proportionally different waist, shoulder, and arm. When a pattern is graded by a constant step, the armhole becomes too deep, the sleeve cap stops matching, and the neckline drops lower than intended. The garment technically fits but hangs wrong.
The result is a shirt that measures correctly and still looks bad. That is why extended sizes need separate blocks rather than a linear extension of the base pattern.
What Needs Re-Drafting
Five areas cause most of the problems, and each has a specific fix.
The armhole and sleeve cap must be rebalanced together, because a deeper armhole needs a shallower cap curve. The shoulder width needs adjustment so the seam does not slide off. The neck drop should be reduced, since a wider neck opening reads lower on a larger chest. The hem needs a slight curve rather than a straight line. Side seams benefit from a subtle shape rather than a straight tube.
Our guide to measuring and grading apparel covers the measurement points to record at each size.
Fabric Behaviour at Larger Sizes
The same fabric behaves differently across a size range.
Lightweight and light-coloured cotton can become semi-sheer when stretched across a larger body. Heavier weights hold shape better and read as more premium, which matters because extended sizes are often priced higher. Our overview of choosing T-shirt fabrics explains which weights perform across a full range.
Shrinkage deserves attention too. A garment cut close to the body that shrinks five percent becomes unwearable, so pre-shrunk blanks are worth the cost at the larger end.
Print Placement Across Sizes
A fixed print size looks generous on a small shirt and small on a large one.
Set print dimensions per size band rather than scaling proportionally to the garment. Proportional scaling distorts artwork and pushes the graphic toward the seams. A practical approach is three bands with modest size steps, keeping the print centred on the chest rather than on the garment width. Our notes on sampling and quality checks explain how to verify placement before a run.
Present the Size Chart Properly
The chart is where an inclusive range succeeds or fails.
Publish garment measurements, not body measurements. Show every size in the range, including the ones in between, so customers can compare against a shirt they own. Add a fit note per size band rather than a single note for the whole product. Where a style runs relaxed at the top end, say so.
Photograph the Range Honestly
One model in one size does not communicate an extended range.
Show at least two body types wearing the same design, and label the size each model is wearing. This is not decoration. It answers the question customers actually have, and it reduces returns. Our guide to reducing apparel returns covers the page details that support this.
Launch Without Dead Stock
Do not stock every colour in every size on day one.
Launch the extended range in your two best-selling designs and your two best-selling colours. Track the size distribution over the first six weeks, then expand what sells. Offer the wider range as made-to-order where production allows. This limits exposure while still signalling that the brand caters to the full range.
Pricing Without Penalising
Larger sizes use more fabric, and pretending otherwise creates a margin problem.
Either build the cost into a single price across the range, which is simpler and reads as fair, or apply a modest and clearly explained surcharge. Our guide to pricing apparel for profit shows how to model both.
The Bottom Line
Extended sizing is a pattern-making project, not a size-chart edit. Re-draft the block, sample the largest size first, and photograph the range honestly.
Ready to plan the range? Browse our t-shirts and sweatshirts to choose which designs to extend first.