


From Sketch to Shirt: How a Design Becomes a Real Product
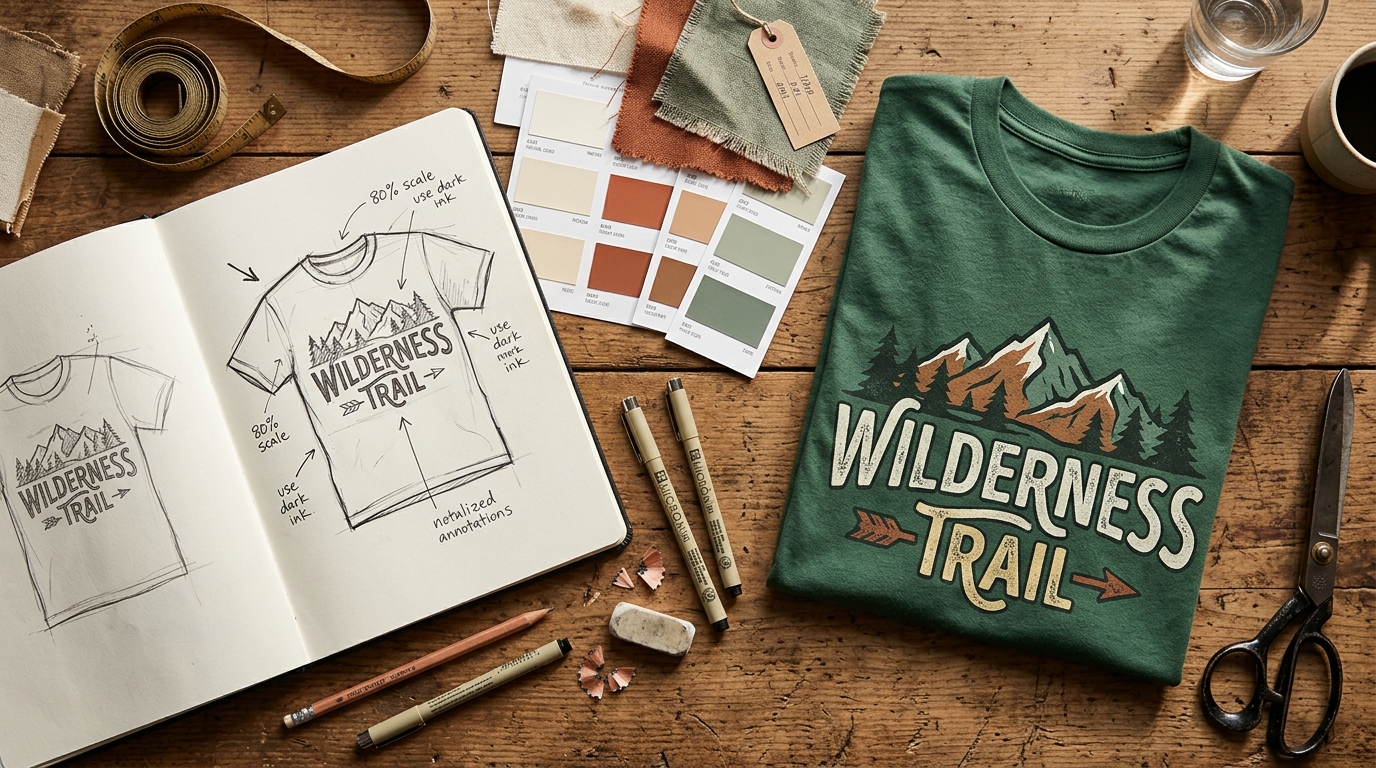
A design on a screen is only an idea. A shirt in a customer's hands is a product. The distance between the two is a sequence of decisions, and most first-time brands underestimate how many there are.
This guide walks through the full journey from rough sketch to finished garment. At each stage you will find what happens, what commonly goes wrong, and the single check that prevents the most expensive mistakes.
Stage 1: The Idea and the Sketch
Every product starts with an intent rather than an image.
Ask what the design is for before asking what it looks like. A graphic meant to sell at a market stall has different requirements than one meant to anchor an online collection. Once the purpose is clear, sketch loosely and quickly, with no concern for polish. The goal at this stage is to explore directions, not to perfect any one of them.
Produce more options than you need. Narrowing from ten rough concepts is far easier than salvaging one concept that never worked.
Stage 2: Refining and Choosing Placement
Placement changes how a design reads on a body.
A chest print sits close to the eye and should be compact. A full-back graphic can carry detail that would be wasted up front. Sleeve prints need simplified shapes because the surface curves. Try the strongest concept in two or three positions and judge each at actual size rather than zoomed in on a monitor.
Our overview of printing methods explains how placement and method interact, since some positions suit one technique far better than another.
Stage 3: Building a Production-Ready File
A mockup file and a production file are not the same thing.
Production artwork needs clean vector edges or a high-resolution raster at the printer's required scale. Fine hairlines, gradients below a certain size, and tiny negative space all behave unpredictably once ink meets fabric. Simplify deliberately rather than hoping the printer will solve it.
Separate your colours before you send the file. Fewer ink colours means lower setup cost and fewer places for error. If you are unsure whether a detail will hold, cut it. Detail that disappears in production is worse than detail that was never promised.
Stage 4: Choosing Fabric and Garment
The blank is as much a design decision as the artwork.
Fabric weight changes how a shirt drapes and how long it lasts. A heavier cotton reads as premium and holds structure, while a lighter one feels cooler and costs less. Blend affects shrinkage, stretch, and how ink sits on the surface. Our guide to choosing T-shirt fabrics covers the trade-offs in detail.
Order the garment before finalising artwork. Printing onto the actual blank reveals problems that no mockup can show.
Stage 5: Sampling and Print Testing
This is the stage that separates brands that scale from brands that refund.
Request a physical sample and treat it as the reference for everything that follows. Check the print position against your specification, measure it rather than eyeballing it. Check colour accuracy against your target under neutral daylight. Wash the sample at least twice and inspect for cracking, fading, or shrinkage.
Our checklist for ordering samples lists exactly what to verify before approving. Colour deserves its own attention, and our guide to print colour accuracy explains why a screen reference is never trustworthy on its own.
Stage 6: Labels, Tags, and Packaging
The unboxing moment carries more weight than most brands expect.
A woven label, a printed neck tag, and a branded mailer turn a blank garment into a product. These details also reduce returns, because a clearly labelled garment is easier for a customer to trust. Our breakdown of private label details covers what to specify and when to order them, since label lead times often run longer than garment production.
Stage 7: Production and Quality Control
Once the sample is approved in writing, production can begin.
Ask for a pre-production sample taken from the actual run setup, not from a separate test. Inspect a random selection from the finished batch rather than the pieces the printer has chosen to show you. Confirm quantities, sizes, and colours against the order sheet before the shipment leaves.
Stage 8: Photography and Launch
The finished product only sells if customers can see it properly.
Photograph the actual production piece, not a digital render, so what customers receive matches what they saw. Capture the design close up, the full garment on a body, and the detail that makes it worth buying. Then write a description that leads with the benefit rather than the technique.
The Bottom Line
Sketch loosely, specify precisely, sample honestly, and approve in writing. Each stage is cheap to fix on its own and expensive to fix later.
Ready to start the process? Browse our t-shirts and sweatshirts to see how finished products look across the range.